Once everyone involved is safe and it’s reasonable to do so, your phone camera becomes one of the most useful tools you have. Insurance adjusters weren’t at the scene. They reconstruct what happened from a police report, statements, and photos. A short, organized set of photos taken in the right order will do more for your claim than a hundred random close-ups of a dented bumper.
Work through the scene methodically rather than snapping whatever catches your eye first. The order below moves from the big picture down to the small details, which mirrors how an adjuster will actually read your claim file.
Wide shots of the overall scene
Before anything gets moved, cleaned up, or towed away, take a series of wide shots that show the whole scene as a stranger would see it walking up. These establish context that close-ups can’t: where the vehicles ended up relative to each other, the layout of the road, and the general environment.
- Stand back far enough to fit all vehicles involved in a single frame, if the road allows it safely.
- Take this same wide shot from at least four different angles — approaching from each direction of travel, and from each side of the road.
- Include the intersection, lane markings, or shoulder in the frame so the layout is unmistakable.
- If there’s a walk-in view from a slight elevation (a curb, a rise in the road), use it. A higher vantage point often shows vehicle positioning more clearly than a shot taken at bumper height.
Only move around the scene to get these shots if it’s safe to do so. If traffic is still moving and you’d have to step into a live lane to get a wider angle, skip it. No photo is worth that risk.
Video as a supplement, not a replacement
A slow, narrated walkthrough video — recorded after the wide photos are done — can capture things stills miss, like a signal cycling through its phases or the sound of oncoming traffic that explains why a driver couldn’t stop in time. Treat video as an add-on to your photo set, not a substitute for it. Adjusters and claims systems are built around still images; a video buried with the relevant frame at the two-minute mark is easy to overlook.
Close-ups of damage on every vehicle involved
This is the section people tend to do well on their own vehicle and skip on everyone else’s. Don’t. A complete record of damage to every vehicle in the collision protects you if liability is questioned later, and it gives your insurer a fuller picture to work from immediately instead of waiting on the other party’s documentation.
- Photograph each vehicle from all four sides, even the sides that look untouched. An undamaged panel is useful information too — it can rule out certain versions of events.
- Get close-up shots of every point of impact, filling the frame with the damage itself.
- Then back up and take a medium shot of the same damage from a few feet away, so there’s a photo showing where that damage sits on the vehicle as a whole. A close-up of a scrape means little if there’s no accompanying shot showing whether it’s on a front fender or a rear quarter panel.
- Photograph any parts that came loose or fell onto the roadway — trim pieces, mirror housings, bumper covers — before they get kicked aside or swept up.
- If a vehicle’s airbags deployed, or if there’s visible damage inside the cabin, photograph that too.
Do this for your own vehicle and for every other vehicle involved, not just the one you think is more visibly damaged. Adjusters compare damage patterns across all vehicles to understand how a collision happened, and gaps in that record on one car can slow the whole claim down.
Don’t skip the vehicle interior
If anything inside the cabin was affected — a cracked windshield seen from inside, a dashboard warning light, a seatbelt that locked and won’t retract — get a photo of it. These details are easy to forget once the vehicle is repaired or replaced and impossible to recreate afterward.
License plates, vehicle positions, and road signs
This section is about documentation, not damage. These photos exist to answer basic factual questions later: who was involved, where exactly they were, and what the road was telling drivers at that moment.
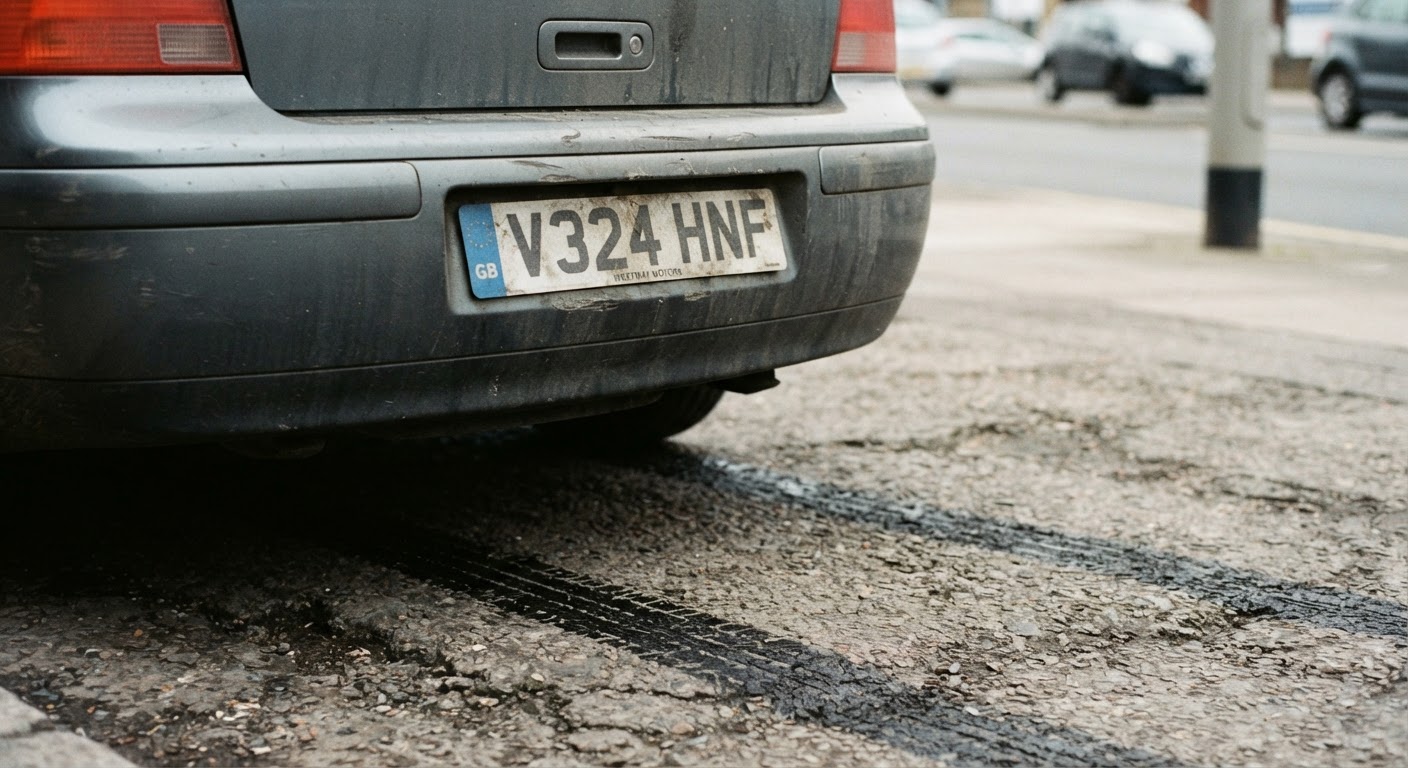
- License plates. Get a clear, readable shot of the plate on every vehicle involved. Do this even though you’ll likely also exchange information verbally or through insurance cards — a photo removes any chance of a transcription error later.
- Vehicle positions. Before vehicles are moved (if it’s safe to leave them in place), photograph exactly where each one is sitting relative to lane lines, curbs, and each other. If vehicles must be moved for safety before you can photograph this, note that in your own records so it’s clear the positions shown aren’t the final resting point.
- Traffic signs and signals. Photograph any stop signs, yield signs, speed limit signs, or traffic signals near the scene. If a signal was in a particular phase when the collision happened and you can safely observe and photograph a full cycle afterward, that context can matter.
- Lane markings and road markings. Turn arrows, crosswalks, merge lines — anything painted on the road that relates to how the vehicles were supposed to be moving.
It’s tempting to assume the police report or the other driver’s insurance company will capture all of this. Sometimes they do, thoroughly. Often the report is brief, written by someone who arrived after the fact, and your photos end up being the more detailed record.
Get the other driver’s information too, if you’re able
Alongside the plate photo, photograph the other driver’s insurance card and driver’s license if they’re willing to show them to you. This isn’t a replacement for a verbal exchange of information, but a photo means you’ll have the exact policy number and license details correct, without relying on memory or handwriting.
Conditions that won’t be visible later
Some of the most useful photos are of things that disappear within minutes or hours: weather, lighting, debris, skid marks, and anything else that will be gone by the time an adjuster or investigator looks at the scene. If you only remember one category from this article, make it this one — everything else in this list can, in theory, be reconstructed from other sources. This category usually can’t.
- Weather and lighting. Rain on the windshield, fog reducing visibility, glare from a low sun, wet or icy pavement. Photograph the sky and the road surface itself, not just the vehicles.
- Skid marks and debris. Tire marks on the pavement, broken glass, plastic fragments, fluid on the road. These get swept up or washed away quickly, sometimes before the vehicles are even towed.
- Obstructions. A parked truck blocking a driver’s view of an intersection, overgrown foliage covering a stop sign, a construction barrier narrowing a lane. If anything on the road contributed to reduced visibility or reaction time, photograph it from the approximate position a driver would have been in.
- Temporary signage or detours. Cones, temporary signs, or lane closures related to construction or an event nearby. These are often removed within a day or two and won’t show up if someone visits the scene later.
- Road surface condition. Potholes, uneven pavement, faded lane markings — anything about the road itself that might be relevant and that a repaving crew or a maintenance crew could address before anyone else sees it.
Time-stamp these photos in your mind as you take them — most phones embed this automatically, but if you’re using a device that doesn’t, jot down the time separately. A photo of wet pavement is far more useful if it’s clearly tied to the time of the collision rather than to some point afterward.
A quick order to work through
When you’re standing at a scene, adrenaline running, it’s easy to forget a category entirely. A simple sequence to run through:
- Confirm everyone is safe and, if needed, move vehicles out of active traffic before doing anything else.
- Wide shots of the whole scene from multiple angles.
- Close-ups and medium shots of damage on every vehicle, all four sides.
- License plates, insurance cards if available, and driver’s licenses if available.
- Road signs, signals, and lane markings near the scene.
- Weather, road surface, debris, and anything else that will change or disappear within the hour.
You don’t need a professional-looking gallery. You need a complete one. A dozen well-placed photos that cover each of these categories will serve your claim far better than sixty photos of the same crumpled fender from slightly different angles. Once you’re done photographing, follow up with your insurer’s usual reporting process to get the claim itself moving — the photos are there to support that process, not to replace it.